


Accounting documents in pats.lv: how to add, check and link them to transactions






 13. November, 2026
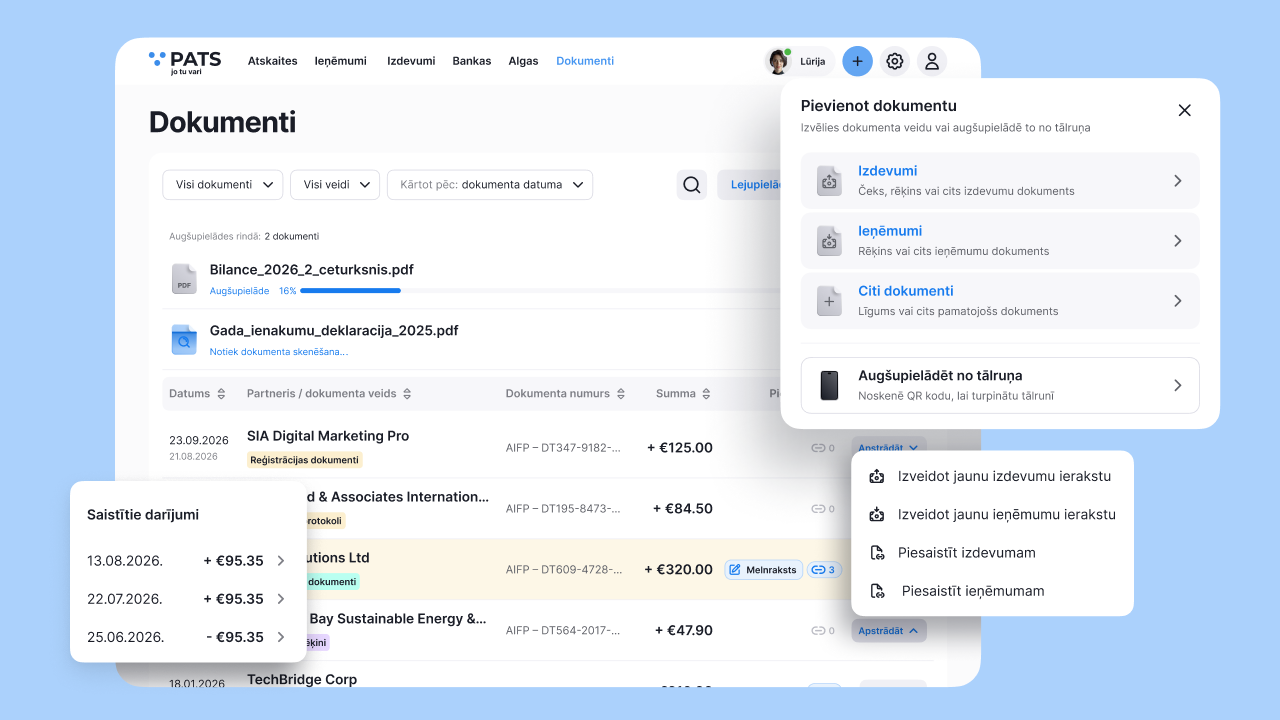
Bookkeeping is easier and more convenient when all your business documents are in one place: clearly organised, easy to find and quick to link to the relevant transactions. After all, bookkeeping usually starts with supporting documents such as invoices, receipts, payment receipts and contracts. Even if you entrust your bookkeeping to a professional accountant, an organised document collection is particularly useful: both you and your accountant can easily access the information you need, check documents and keep track of transactions. pats.lv lets you add, manage and link all these documents to income or expenses in one place.
Invoices, receipts, payment receipts and contracts are part of everyday bookkeeping for both self-employed people and SIA companies. In the Documents section, you can add, find, check and link them to income or expenses. You can upload a document from your computer or add it from your phone, for example, straight after a purchase.
How does it work? Add a document, check the recognised data and create a new transaction or link the document to an existing one. Uploading a file does not mean the transaction is complete: the draft still needs to be checked and confirmed.
Which document upload option should you choose?
Start with the Documents section and the +Add document button. Then choose the action that matches the document you want to add.
What document do you want to add? |
Which section should you choose? |
Next step |
|---|---|---|
A purchase invoice, receipt or delivery note |
Expenses |
Check the draft and add the expense. |
An invoice issued in another system, a receipt or a payment receipt for income |
Income |
Check the draft and add the income. |
A contract or acceptance certificate |
Other documents |
Create a new transaction or link the document to an existing one. |
A document on your phone or one you need to photograph |
Upload from phone |
Scan the QR code, add the document and process the draft. |
1. How do you add an expense document?
Use this option to add a purchase invoice, receipt or another expense document. Prepare a PDF, JPG or PNG file. The entire document must be visible, and the text and amounts must be legible.
Open the Documents section. Select the documents section in the top menu.
Add the file. Click +Add document, select Expenses and upload the document.
Wait for the draft. The system recognises the document data and prepares a draft. It still needs to be processed.
Open the document. Select Open → Process document → Create new expense.
Check the information. Compare the date, supplier, amount and other fields with the document. Correct any errors and fill in missing information, including the appropriate category.
Save the transaction. Select Create. If you use the additional check, select Create and check so that Lūrija can check whether the document matches the transaction.
You can also process the document from the list: click the link icon in the document row, check the data and select Add expense.
You will find a detailed explanation in the guide on how to add an expense document.
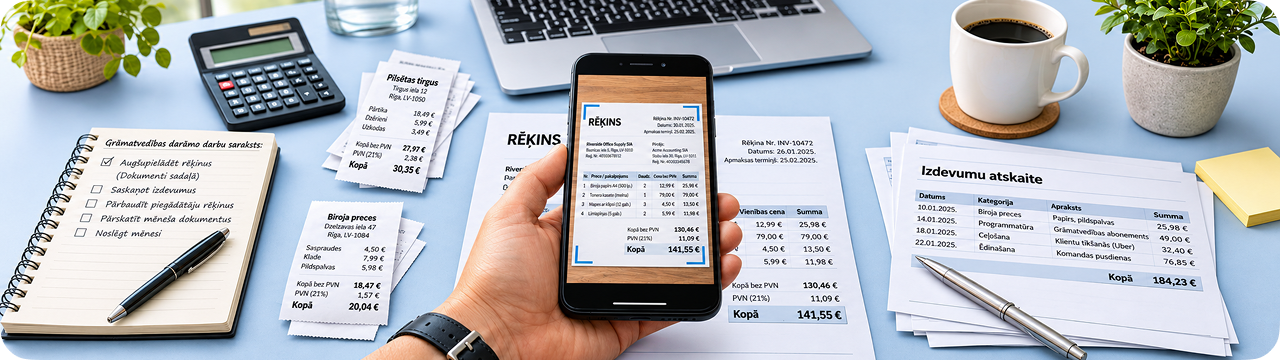
2. How do you add an income document?
You can add an income document, for example, if an invoice has already been issued in another system. Use a PDF, JPG or PNG file for this upload too.
Choose the document type. Open Documents → +Add document → Income.
Upload the file. Wait for the system to recognise the data and create a draft.
Start processing. Select Open → Process document → Create new income.
Check the fields. Make sure the date, customer, document number, amount and other information match the attached document. Fill in any missing data if necessary.
Save. Select Create or Create and check.
Alternatively, click the link icon in the document row, check the data, specify the category and select Add income.
The availability of additional checks depends on your subscription. In the income guide, the separate Check button is listed as a Premium feature.
You can see all the steps in the guide on how to add an income document.
3. How do you add a contract or acceptance certificate and link it to a transaction?
Not every document needed for bookkeeping is an invoice or receipt. You may also need to keep a contract, acceptance certificate or another document with a transaction. Use the option for adding other documents for this purpose.
Start adding the document. Select Documents → +Add document → Add other document.
Add the document. After uploading, it will appear in the list as unprocessed.
Click Process. The button is on the right-hand side of the document row.
Choose the action you need. If the transaction has not been created yet, select Create new expense or Create new income. If the transaction is already in the system, use Link to expense or Link to income.
Fill in the required information. Check the data in the window that opens and complete the selected action.
Why is this useful? If the transaction already exists, you can link the document to it instead of creating another entry for the same transaction. Later, it will be easier to see which income or expense the document relates to.
More information is available in the guide on how to add another document.
4. How do you upload a document from your phone?
If you have a paper receipt or a photo of the document is already on your phone, you do not need to email it to yourself first. You can start adding it on your computer and continue on your phone.
Open Documents on your computer. Click +Add document.
Select Upload from phone. A QR code will appear on the screen.
Scan the QR code with your phone. Open the link on your phone.
Add the document. Take a photo or choose an existing file or image. PDF, JPG and PNG formats are supported.
Wait for upload confirmation. Your phone will show the status Uploaded, and the system will recognise the document data.
Process the draft. Open it, click Process and choose the appropriate action.
Check and confirm. Compare the automatically filled fields with the document, correct any errors and complete processing.
Before taking a photo: place the document on a flat surface, make sure the lighting is good and check that the entire document is in the frame.
You can review the process in the guide on how to upload a document from your phone.
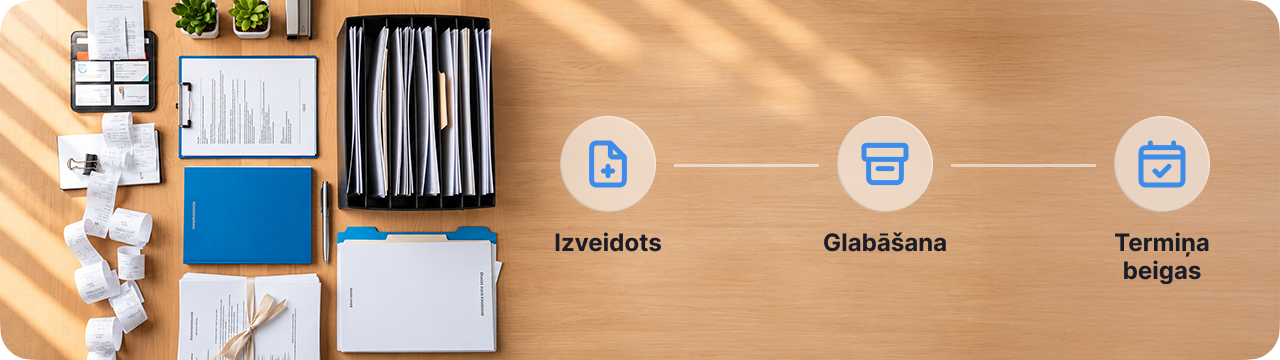
How do you find and check documents?
The document list helps you not only add new files but also return to those you have already saved. Use search, filters and sorting to find the document you need and review its information.
First, check the selected period
If a document you have just added does not appear in the list, make sure the selected period includes the document date. This is particularly important when you upload an invoice or receipt from the previous month today.
Compare the document with its data
Open the document and check the preview alongside the entered information. Pay attention to the business partner, date, document number, amount and category. Automatic data recognition makes data entry easier, but does not replace checking.
Review the link to the transaction
Before creating new income or an expense, check whether the corresponding transaction has already been added. If it is already in the system, link the document to the existing transaction.
Download and view documents on another device too
You can use a ZIP archive to download documents together. The mobile view lets you review documents on your phone when your computer is not at hand.
A simple document processing routine
To prevent documents from piling up until the end of the month, follow a simple routine:
Add documents promptly. Upload a file you receive from your computer, or photograph a paper receipt with your phone.
Check the draft. Compare the recognised data with the original document.
Create or link. Add a new transaction or use an existing one.
Check the result. Make sure the document has been processed and linked to the correct income or expense.
This routine helps self-employed people keep track of their business documents and makes everyday document preparation and checking easier for SIA companies. You no longer need to search through email attachments and separate folders for the information you need.
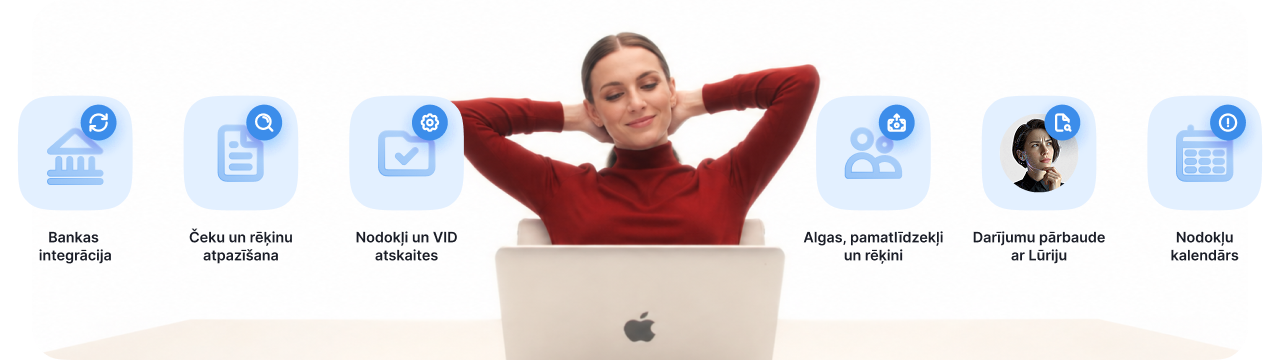
Frequently asked questions
Is the document already recorded in the accounts after uploading?
No. First, a draft is prepared, and its data must be checked and confirmed. Automatic posting after confirmation requires an active subscription.
Which files can I upload?
PDF, JPG and PNG formats are supported for expense and income documents, as well as uploads from a phone. Make sure the entire document is visible and legible.
Why can’t I see the document I just added in the list?
Check the selected period. It must include the document date, not just the day you uploaded the file.
What should I do if the transaction has already been added?
Do not create it again. When processing the document, use Link to expense or Link to income.
Can I also add a contract or acceptance certificate?
Yes. Select Add other document and then process the document by creating a new transaction or linking it to an existing one.
Do I need to transfer the document photo to my computer first?
No. Use Upload from phone, scan the QR code and add a photo or file directly from your phone.